How To Make Mason Jar Candles
Step 1: Measure Wax
Before you begin, protect your workspace by putting down newspaper or paper towels. This will make the cleanup process easier and prevent unwanted drips of wax on your counter space.
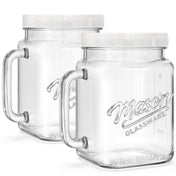
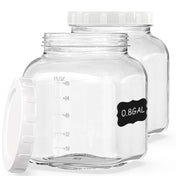
You will then measure out the soy wax flakes. Fill your mason jar twice and pour the contents into your candle pouring pot. If you decide to use a different candle container, you can still apply the same rule of filling it twice with wax flakes.
There are a variety of waxes that can be used when making candles. If you want a natural candle with no dye, beeswax will work. For a solid color candle with scent, use soy wax flakes. If you’re looking to fill your candle with accessories such as flowers or shells, the gel wax is the only one that will be transparent enough.

Step 2: Melt Wax
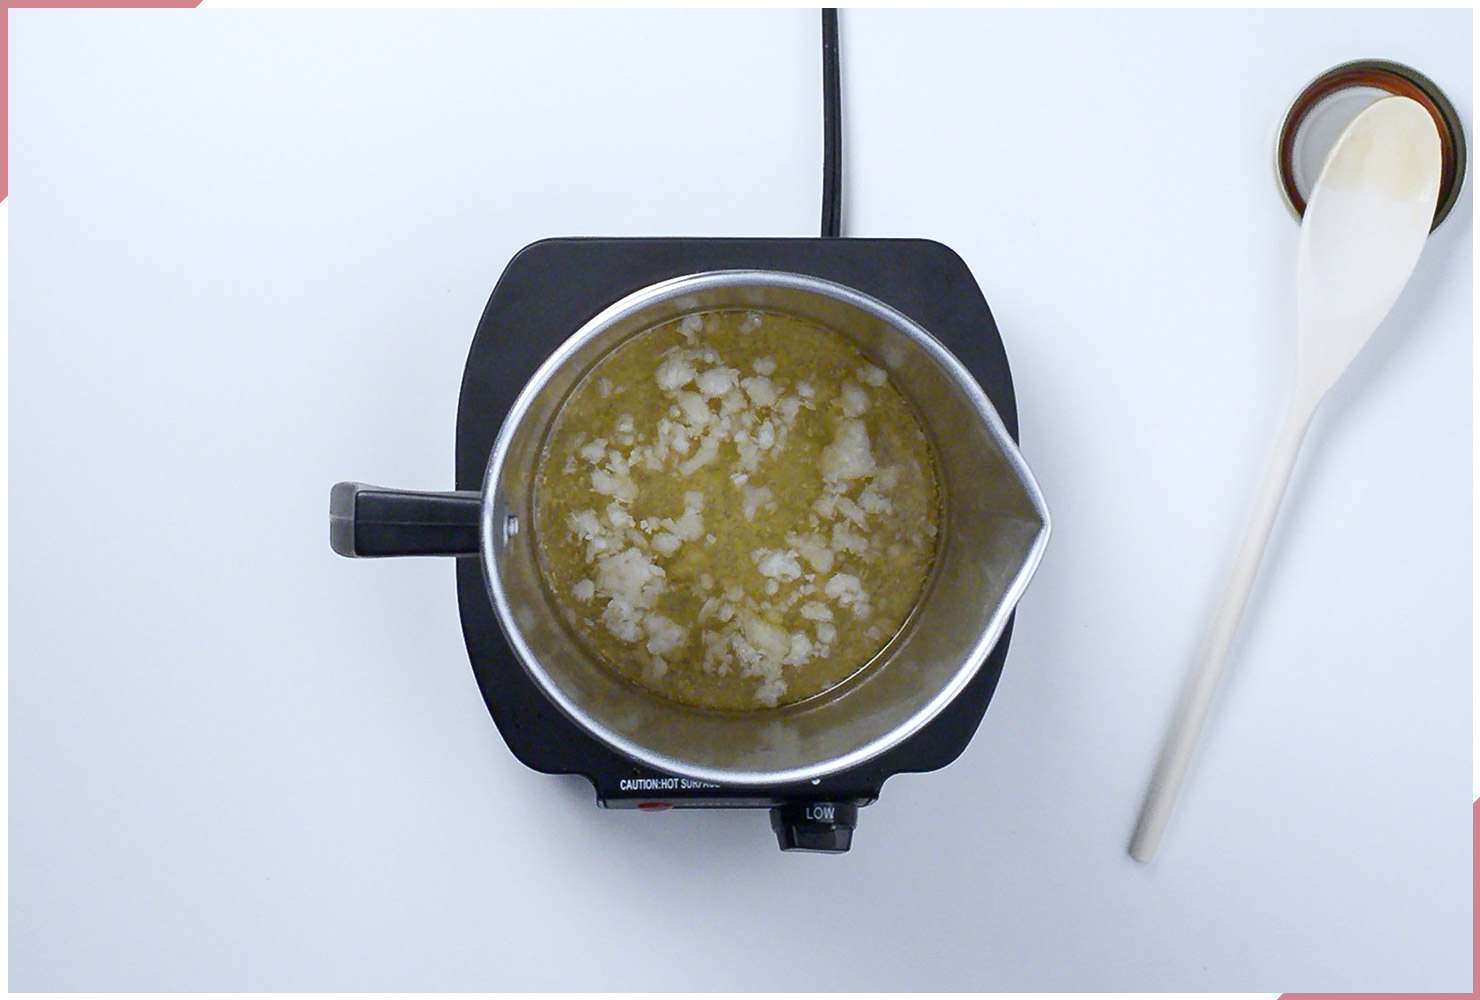
Place the candle pouring pot over low heat. Stir the flakes until they turn completely liquid. This should take about 10-15 minutes. It’s important to make sure that the wax does not come to a boil.
Step 3: Add Dye

The natural state of the wax will be an off-white color. There are a two main dyes that you can use to color your candle: wax and liquid. These can both be purchased at your local craft store. Another option is to use old crayons from your craft cabinet.
When using these dyes, a little goes a very long way. Add a few drops or shavings to produce a vibrant color. Another thing to keep in mind is that even though the liquid may look dark, the wax will dry significantly lighter.

Step 4: Add Scent
Similar to the dye, a little goes a long way when it comes to scent. Choose your favorite essential oil and add two or three drops.

Step 5: Place The Wick
Once everything is melted, remove the pouring pot from the heat and let it cool for 5 minutes. While this is happening, place a glue dot on the bottom of the wick and center it in the middle of the mason jar.

Step 6: Pour Wax
Slowly pour the liquid wax into the mason jar, while gently holding the wick in place. Be careful not to pull up on the wick or it will come undone. Fill the mason jar until the wax is about one inch below the brim.

Step 7: Secure The Wick
To make sure the wick stays centered in the drying process, secure it with a wick holder. If you do not want to purchase a wick holder, this step can also be done by securing the wick between two chopsticks or pencils.

Step 8: Let Cool
Let your candle cool at room temperature. It will take about 4 hours for your candle to completely solidify. If the top of the candle becomes cracked or has a sinkhole, reheat the wax and pour a thin layer over the top to fill in any imperfections.

Step 9: Trim The Wick
Your wick is most likely very long. Shorten it to a length that’s safe to burn. This is usually less than half an inch. If the flame is still too big, cut it down again.

Step 10: Enjoy!
Display your masterpiece in your home. Place your candle on a shelf or coffee table where it will complement your wall art. These mason jar candles also make great personalized gifts for any occasion. Just personalize it by adding a color or scent that’s unique to the recipient.